Over time, dirt and dust accumulate on both the exterior and interior parts of a window air conditioner. When left unattended, it can greatly compromise your unit’s efficiency. It could also serve as a breeding ground for mold spores, mildew, and pathogens that are then distributed to your living area. Therefore, it is important to regularly clean the air conditioner. So, this begs the question: how to clean a window air conditioner without removing it?
You do not have to dismount the window air conditioner to clean it. You can easily remove some of the parts for cleaning while the unit is still in place.
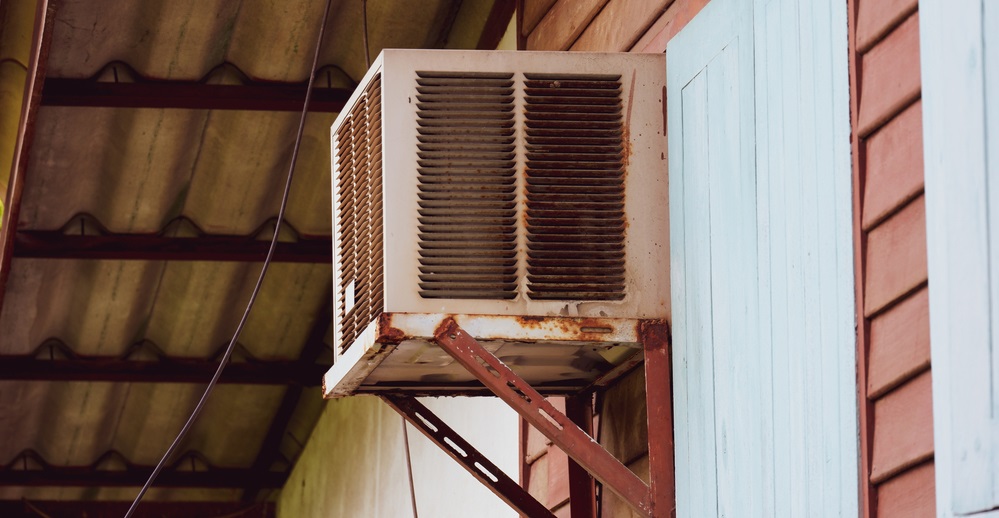
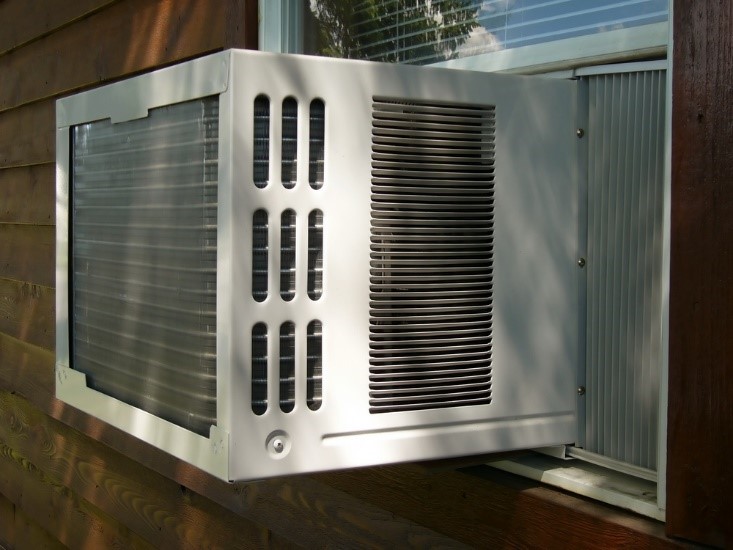
You will have easy access to the front panel but not the back panel. This method works best if the air conditioner is not too dirty. Otherwise, you may have to dismount it for a more thorough cleaning.
How to Clean a Window Air Conditioner Without Removing It
1. Gather Your Supplies
You will need the following:
- A bucket with warm soapy water
- Vacuum cleaner
- Soft brush vacuum cleaner attachment
- Suction vacuum cleaner attachment
- Soft brush
- Spray bottle
- Cloth
- Rug
- Screwdriver
- Fin comb
- Latex gloves
- Face mask (optional)
- Compressed air can
- Foaming cleanser
- Paper towel (optional)
A nylon brush is preferable for light-duty cleaning work. It gets into the tight spaces between the fins and scrubs off the dirt without scratching or bending the fins. However, a soft household brush will get the job done.
2. Unplug the Unit and Prepare It for Cleaning
Power off the window air conditioner and unplug it before starting the cleaning process. Since the cleaning procedure involves using water, running water when the unit is still connected to the power source risks electrocution.
Lay a rug or tarp on the floor directly below the window air conditioner to protect the floor. Wear your gloves and face mask.
3. Clean the Air Filter
Some units have an easy-to-access air filter with a clip that attaches the filter cover to the front panels. For others, the air filter is fitted to the inner side of the front panel. Therefore, you need to unscrew the front panel to access it.
Once you have removed the air filter, inspect it for the extent of dirt accumulation. If there is minimal dirt, vacuuming will be sufficient. However, if there is grime, mold, or mildew, you will need to clean it thoroughly with a mild bleach or detergent solution.
Start by shaking the air filter inside a dustbin to allow loose dust and dirt particles to fall off. Then, use a vacuum cleaner with a soft brush head or a household brush to remove any stuck dirt or grime.
Soak the filter in a bucket with warm water with a bit of soap. Leave it for a few minutes, and then use a brush to clean the pores and edges thoroughly. Next, rinse it with clean cold water and leave it to dry. Do not use heat to dry the air filter. Instead, allow it to air dry.
Most window air conditioners have a disposable filter. The frequency of replacing the filter ranges from a month to six months. Check the manufacturer’s indication on the lifespan of your specific filter model. While cleaning can help enhance the filter’s efficiency, once its lifespan has lapsed or the filter becomes clogged up with dirt, it is best to replace it rather than clean it.
4. Clean the Front Panel
If you hadn’t removed the front panel to access the air filter of your air conditioning unit, you need to do so. Use a screwdriver to remove the screws and place them securely as you will need them when putting back the front panel.
The front panel contains louvers that you need to pay attention to when cleaning. Start by vacuuming the panel to remove any loose dirt or dust particles. Then, use a spray bottle with a mild detergent solution to soak up the entire component.
Allow it to sit for a few minutes for the dirt to loosen up. Then, go in with a soft household brush and clean all parts in detail. Take some time to clean each louver and grill both from the front and the back. Then run water throughout the front panel using a hose to rinse it off. Finally, put it aside to air dry.
5. Clean the Fins and Coils
The fins and coils of your window AC unit can accumulate a lot of dirt and dust. They are delicate and require gentle handling. If you have a vacuum cleaner, attach a soft brush, and gently remove any dust by running the vacuum cleaner downwards. Otherwise, use a soft toothbrush or a fin comb.
Once all the loose dirt has come off, use the spray bottle to soak up the fins with warm soapy water. Apply the soapy water from the top downwards. Give it 3-5 minutes, and then spray more soapy water on the fins. Use a fin comb, toothbrush, or vacuum cleaner with a brush head to clean the finds. Once again, use gentle, downward strokes to clean them.
Occasionally, dip the brush into soapy water to remove the dirt that accumulates on the brush as you clean. Finally, spray the fins downwards with clean, cold water to rinse them off. Then, leave them out to dry.
6. Clean the Bottom and Outer Housing
As you clean the fins, dirt and water will accumulate at the bottom of the air conditioner. If you have a vacuum cleaner, use the suction insert to clean out all the dirt. If not, use paper towels to clean the bottom.
Then, wipe with a damp cloth to remove any residual dirt. Next, wipe clean the outer casing of the air conditioner that is accessible to you using a damp cloth.
7. Leave the Entire Unit to Dry, Then Reassemble it
Allow at least two hours for the entire unit to dry before reassembling the parts you had removed. Replace the air filter, air filter cover, and front panel. Plug the unit back in and power it on. Check that it is operating as it should be.
Why You Should Clean Your Window Air Conditioner Regularly
The benefits of cleaning an air conditioner regularly include:
- Ensures the air filter works optimally. If the air filter is left without regular cleaning or is not replaced, dirt clogs up the filtration pores. It inhibits airflow to the unit and limits the volume of cool air released back to your living space. As a result, the unit has to work harder to keep your space cool, which increases energy consumption.
- Prevents mold. Generally, the interior of an air conditioner is dirty due to the water produced during the cooling and condensation process. The damp environment creates febrile breeding grown for mold, mildew, and other pathogens. Regularly cleaning the air conditioner enables you to catch any mold and mildew growth early and to clean it up. You can also use bleach and baking soda to clean the area prone to mold growth to prevent it.
- Ensures circulation of clean, cool air. If there is dirt, dust, mold, and mildew in the interior of the window air conditioner, it will be circulated to your living area. The contaminated air can cause health issues such as allergies, skin itchiness, and respiratory illnesses.
- Enhances durability. Cleaning your window air conditioner regularly helps to prevent the accumulation of corrosive chemicals or rusting.
- Ensure the air conditioner works quietly. Loose dirt and debris can cause the unit to produce rattling sounds as they are moved around when the unit is in operation.
How Often Should You Clean a Window Air Conditioner?
You should clean the air conditioner at least once every month. However, if you live in a dusty area or have high humidity levels in your area, you might have to clean your unit more often.
For every two clean-ups you do with the unit still mounted, you will need to completely dismount the unit to clean it to reach the backside and the middle parts such as compressor, condenser coils, and fans.
If you are using the window air conditioner temporarily in the summer, you may need to dismount for a thorough cleaning at least once and then after dismounting it for storage.
Tips for Maintaining Your Window Air Conditioner
Aside from regularly cleaning your window air conditioner, here are additional maintenance tips to keep it in tip-top condition:
- Have it serviced every year or two. The refrigerant volume decreases over time and would need to be refilled. The refill should be done by a professional. You could also have them inspect the entire unit for any other issues and to ascertain that it is in great condition for continued use.
- Install it in a shaded area. Although many window air conditioners are designed to withstand extreme weather conditions, continued exposure to UV rays, wind, and rain can cause it to deteriorate sooner. Therefore, whenever possible, install it in a location where the out part will be under a shade for the most part.
- Store it appropriately over the winter. It is best to dismount your window condition for storage when it is not in use during winter. Clean it thoroughly and dry it completely before storage.
In addition to the tips above, also consider investing in an affordable air purifier for the home as well. An air purifier helps ensure clean air in the home, which means less dirt and dust settling in your window air conditioner unit.
Conclusion
While cleaning a mounted window air conditioner will mainly give you access to the front side, doing so can keep the unit operating efficiently between major cleanings. It is simple and straightforward but takes up a bit of time. You also need to be gentle when cleaning fins and coils to prevent damage.